My 3 Monsters: October 2011

Recent Posts

10.31.2011

Day 31: Happy Halloween! Creative Pumpkin Carving

Whew!  A craft project a day for 31 days and we're all still alive and kicking.  I love it!  Today I thought I'd share a fun pumpkin carving idea with you.  Technically this wasn't "PIN" spired, it was "PIN"-found after I already did it on my own and wanted to tie it in to close out this series.  I know I cheated, but I think you'll thank me.  As Sis was hollowing out her pumpkin last night preparing it for carving this morning she said, "I'm going to carve myself on this pumpkin.  I don't know how, but I'm doing it!"  I took the challenge, hopped on the computer and pulled up a picture of her in Gimp {or Photoshop if you're fancy}.  All you have to do is desaturate the colors in the picture to make it black and white.  Then you up the contrast to eliminate all the gray so you're left with a stark black and white graphic image.  Then you need to use the paintbrush tool to make sure you don't have any disconnected areas or areas that are too detailed.  Here's the original photo:


And here's the carving pattern I ended up with:

 Super fun, huh?  I simplified it a little more for her than I probably would have done for myself.{NOT because she couldn't handle it, but because she'll be in a bit of a hurry before school this morning.}  I did a search on Pinterest after the fact and found this tutorial from How-To Geek that gives a little more insight into the process.


I don't know why you would want a Bill Gates pumpkin, but the idea is really fun nonetheless.  I'll post a picture of her finished pumpkin when we get it done.  Thanks to those of you who stuck with me all month long.  Your sweet comments really kept me going when I wanted desperately to quit. Have a happy and safe Halloween!!

For a complete list of all 31 projects click here: 


10.30.2011

Day 30: Ruffled Note Cards

I love handwritten notes. I'm not a really great face-to-face communicator. I despise the telephone.  My shyness makes those things very uncomfortable for me -- even with people I've known a long time.  But I love to write -- long letters, short notes, what have you.  You just can't beat getting mail that is not from someone who would like some money from you.  I think getting one of these note cards from Jessica at Paper Crafts Connection in the mail would absolutely make my day. 

We've established that I'm a fan of ruffles, but I also very much enjoy crepe paper and loopy script fonts juxtaposed with very simple sans serif fonts.  That's a very specific preference, but I'm a sucker for that design trick almost every time.  I went to Michaels to get some blank white cards that I could doctor up and got distracted by by the dollar bins outside that had been marked down 50%.  I found a couple of sets of pre-printed note cards that I thought I could maybe spruce up in a similar fashion.  Here is what I ended up with:


The cheers ones are my favorite, even though we don't drink -- it's just a celebratory expression, right?.  The purple ones said "Blessings" across the front, which is a very nice sentiment, but I can't imagine a circumstance that would cause me to send a "Blessings" card to just about anyone.  I just sewed the pleated silver ribbon right over that part and now I can use them any way I want.  I used my sewing machine to sew the ruffles right onto both card using the longest, widest zig-zag stitch on my machine to keep the paper from tearing.  You can see the stitching on the inside:


I don't find it too offensive to look at, but I suppose you could cut a piece of cute scrapbook paper to glue in there to cover it up.  Now go forth everyone and write notes to those you love!  Do it now!  Or not.  It matters not to me -- unless you were going to send one to me, in which case I cannot encourage you enough.  Join me tomorrow for the FINAL project in this 31 day challenge.  I can't believe we made it all the way to the end.  What will I do with all my free time now?  Have a great day, guys.

For a complete list of all 31 projects, click here:


10.29.2011

Day 29: The Six Be's Printables

I've been meaning to make a sign similar to this sign from Cheri at I Am Momma - Hear Me Roar for my house for a very long time.


 Isn't it great?  I love the weathered, vintage sign feel to it.  I still plan to make it one of these days, by hand I mean.  Since running into this project I have learned how to digiscrap things.  It's much quicker because I don't have to get out any supplies -- just sit down at the computer, whip something wonderful up, and send it off to be printed somewhere.  It's a total cop out on this project, but the premise of this series is "PIN"spired, not "PIN" copied so it counts in my book.  I love President Hinckley.  I remember sitting in the fireside for the youth of the church when I was the Laurel adviser in California when he originally presented the 6 "Be's".  It has always been incredibly inspiring to me so I wanted to have these ideals displayed in our home somewhere.  I created these printables to be printed at 16 x 20":


and these to be printed at 11 x 14":


and these are sized to 8x10:


Hopefully that covers all the sizes you may need!  Have a great day everyone.  Come back tomorrow for some ruffly note cards.

For a complete list of my 31 projects, click here:


10.28.2011

Day 27 & Day 28: Scrappy Lighted Christmas Tree Garland & Ruffle Front Tee Refashion

Phew!  I'm back on track . . . for today at least.  Brent and I went to see a scary movie last night because we were both in the mood to be really scared.  It seemed like a good idea at the time.  As I lay in bed, wide awake most of the night, jumping at every creak, I questioned my judgement.  At least I had a while to collect my thoughts and come up with a game plan to get through the next few weeks.  And the comfort of the light of day makes me feel extra happy this morning.  Also, Sis and I and some of our friends all got tickets to the Ultimate Twilight movie marathon next month so that gave me a little pick-me-up, too.  It's funny how something so dumb can give you such an energy boost.  Anyway, yesterday's project was something to give me a little head start on Christmas decorating.  I like to add something new to the tree every year -- a new set of ornaments or some funky lights.  This Scrappy Lighted Christmas Tree Garland from Whitney Caroline Designs was one of the first things I ever pinned on Pinterest months ago.

I knew that this was going to be my new addition this year. I always think someday I'm going to actually decorate me entire house for the holidays.  Wouldn't that be fun?!  I've gone as far as mini trees in each of the kids' bedrooms, but that's about it.  I'm going to use mine on the big family tree, but maybe I'll make more for the bedrooms . . . sometime . . .  It's really so easy.  Whitney Caroline used ribbon scraps.  I used some ribbon and some torn fabric strips from the fabric leftover from previous projects this month and came up with this:


It's as easy as tying your scraps onto a string of Christmas lights.  Just turn on a movie {or the Project Runway finale} and set to work.  I love it.  I'm going to be so excited to put up my Christmas tree this year!

Today's project is a cute, ruffly t-shirt refashion.  I love ruffles so this idea got me excited.  I knew I had a white t-shirt in my stash that would be perfect for this project and a ruffly white shirt goes with everything.  The tutorial at Busily Spinning Momma seemed easy enough to follow.  It only took about 30 minutes this morning to whip up and now I have something to wear with the thrift store sweater I found yesterday.  Yay!


I like the deeper cut neckline in the original, but all-in-all I think it turned out great.  Now on to Halloween costumes today . . .  Stop back tomorrow for my take on President Hinckley's six "Be's" for your home.  Have a great day!
For a complete list of all 31 projects click here:


10.27.2011

Uggghhh!

We have a little saying in our house -- "Everything seems like a good idea when it's three weeks away".  We get all excited things, but as the time actually approaches we realize that we don't actually want to do it at all.  Or that we have over-committed ourselves or whatever.  Going into this 31 Days challenge I knew that the last week of this month was going to be crazy.  I have Halloween costumes to figure out, Trunk-or-Treat at church to plan, Youth Conference to plan next weekend, birthday parties, pumpkin walk, and Halloween parties to help with. I knew ALL of that.  And yet three weeks ago I thought, "No problem!  I gots this.  {I talk all slangy like that in my head.}  I can do all of that AND a craft project everyday, all month long.  No bigs."  Here I sit tonight with today's project only half finished on the coffee table, tomorrow's project not yet begun, no Halloween costumes and no food in the refrigerator.  I'M NOT SUPERWOMAN!!  I'm sure that doesn't surprise any of you.  And as long as I'm confessing, I went to a movie with my husband tonight instead of doing anything about any of those things.  I'm not throwing in the towel, I'm just letting y'all know that I'm going to be a few days behind . . . and that my kids' costumes may end up being a couple of my remaining projects.  Thanks for all the support and kind comments you've left here this month.  I really do appreciate it!

Be back tomorrow {I hope} with the scrappy Christmas garland I had planned for today and a t-shirt makeover.  Maybe.

10.26.2011

Day 26: T-shirt Bracelet

One of the few problems I have with Pinterest is that you can't always trust that the description underneath the picture is an accurate one.  I'm guilty of this -- I use that section as a kind of notebook to write where I would use that idea, what I would use it for, how I would adapt it, etc.  Unless you click the link and read the actual post, you can't be exactly sure what you are getting yourself into.  That is what happened with today's inspiration project.


The description said "t-shirt bracelets" and I thought, "yes, please".  But when I actually went to The Pink and Blue Blog and tracked down the post it turned out to be a necklace project.  My gut reaction was, "no, thank you".  I don't know why a bracelet was cool and a necklace was  . . . not . . . to me.  The necklace was adorable on Melissa, the original author of the idea at I Still Love You.  It just didn't seem very "me".  So I adapted the project and made a bracelet.  To do that you'll follow the necklace tutorial, except you only need one braid long enough to wrap three times around your wrist.  Where the necklace really packed a punch in its simplicity, at this point the bracelet was looking a little sad to me.  I used the rest of the t-shirt and made a flower.


Vastly improved, I think.  I also really like that the flower is just tied on there with a bow so I can remove it and use it elsewhere -- tied on a ponytail or pinned on a sweater, for example.  I'll probably use it more that way than on the bracelet.  Just for kicks, I went ahead and made a two-braid version of the necklace and tied the flower on and I actually quite like it.  Who knew?!


 It is harder than you might think to take a picture of yourself in a mirror, without showing too much of your double chin and messy hair, and still have it be in focus.  That takes some major skills.  As I was making the bracelet, I thought it would be a great Christmas gift for teen-age girls.  Sis and I may have to make them for all of her friends.  I can see them really digging this idea.  {I'm so not cool. I just said "digging" in the way we said it back in the seventies and eighties.  Don't tell my kids.}Thanks for visiting today.  Check back tomorrow for a  cool {I hope} Christmas project!

For a complete list of all 31 projects, click here:


10.25.2011

Day 25: Stenciled Burlap Placemats

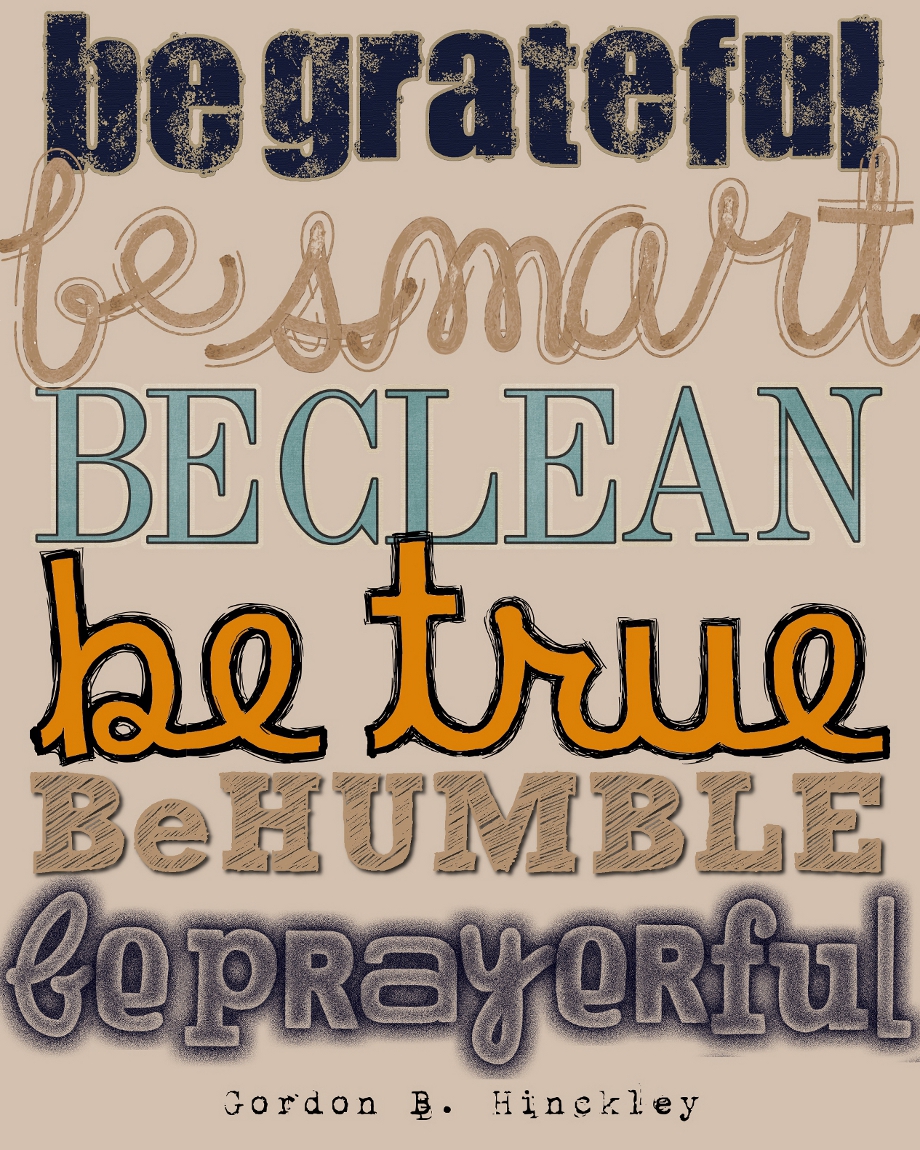
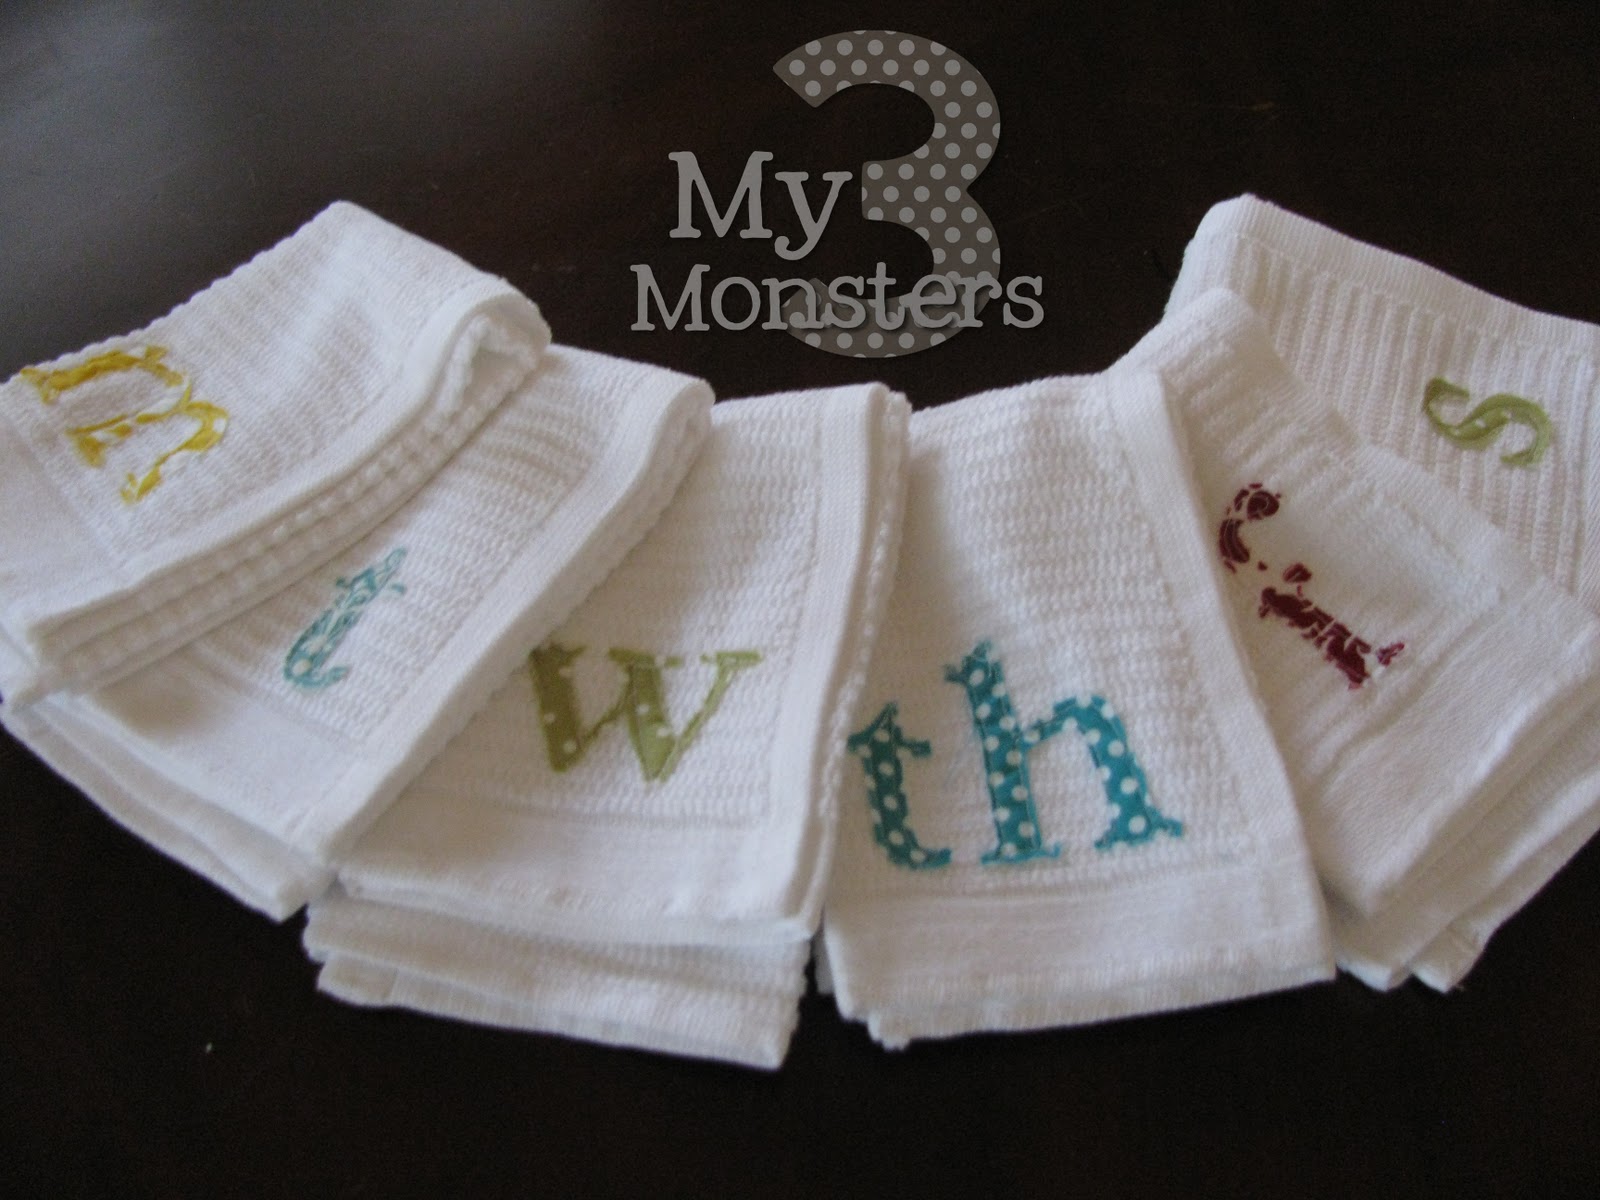
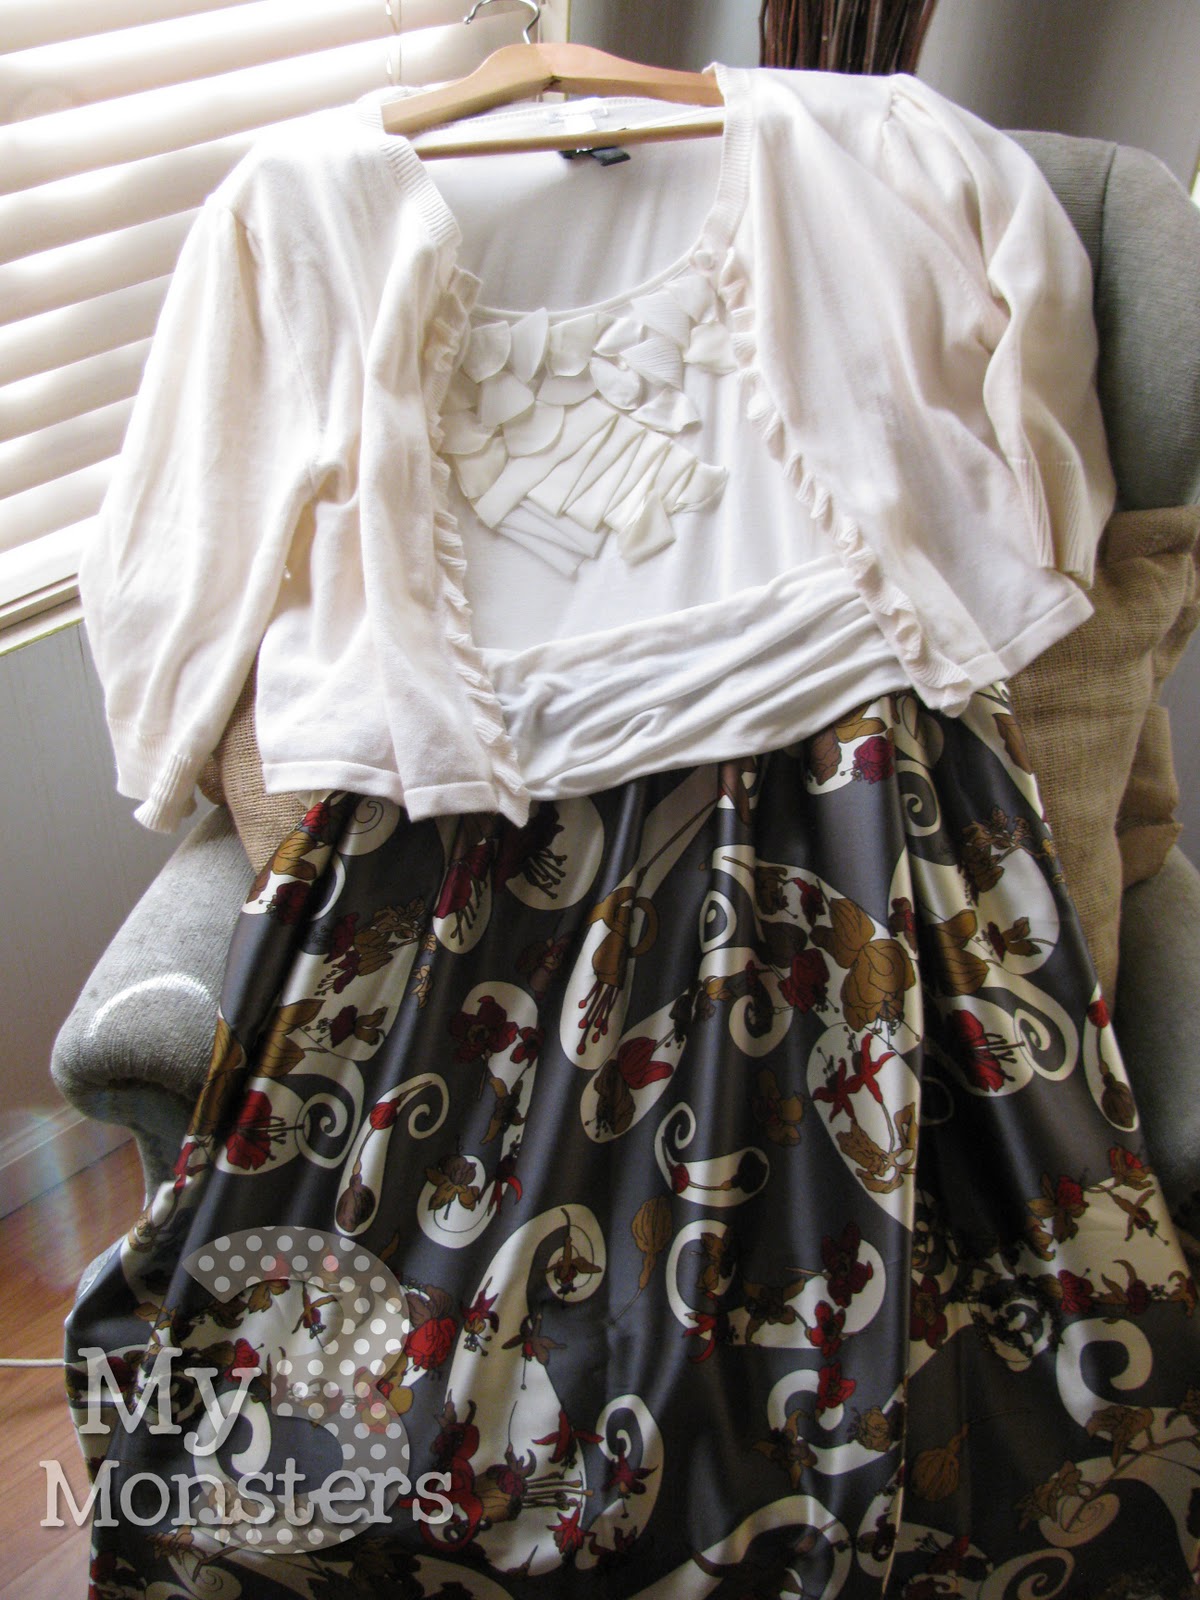
I love words.  Reading words, writing words . . . decorating with words.  It's kind of an obsession.  I have to make a conscious effort to find actual picture art for my home to keep it from looking like a classroom.  Sometimes I just can't help myself, like when I saw these placemats from Cottage and Vine on Pinterest.

I think they're fantastic.  And it's OK to have placemats with words on them because they're not out all the time, right?  Plus it's very educational for my children.  They will never be at a loss for synonyms for the word eat.  Which may or may not come in handy on the SAT someday.  I however did have to use a thesaurus to come up with eight.

 
Not pictured:  feed and graze.  I was too lazy to put the leaf in the table and pull in two extra chairs just to stage a picture.  {Apparently I couldn't be bothered to put the milk and board game away either.  Whatever.} I figure you're smart enough to imagine what those words might look like stenciled onto a burlap placemat.  You're welcome.  {Be a dear and imagine my house clean while you're at it.} There were not really any guidelines on the site that this pin links to so I'll share some of my helpful tips with you:

1.  I cut my burlap pieces 12" by 18" and that seemed like a pretty good size.  I zig-zagged around about 3/4 of an inch in from the edges and pulled away the strings to fray them to that point.  The zig-zag stitching will keep them from unraveling with use.

2.  The font I used was Garamond Bold at 250 point size.  It's just interesting enough to not be plain and just plain enough to not detract from the simple look I wanted.  Not that I know anything about fonts.  I just know what I like.

3.  Burlap is a little different to freezer paper stencil on because it is such an open weave.  I like to iron a piece of freezer paper to the back side of the fabric and then iron the stencil on the front.  I feel like that helps the paint to not spread and smear too much.  Also, you want to be sure and not use too much paint -- just enough to cover your design completely with an even layer of paint.  Don't gob it on there.  

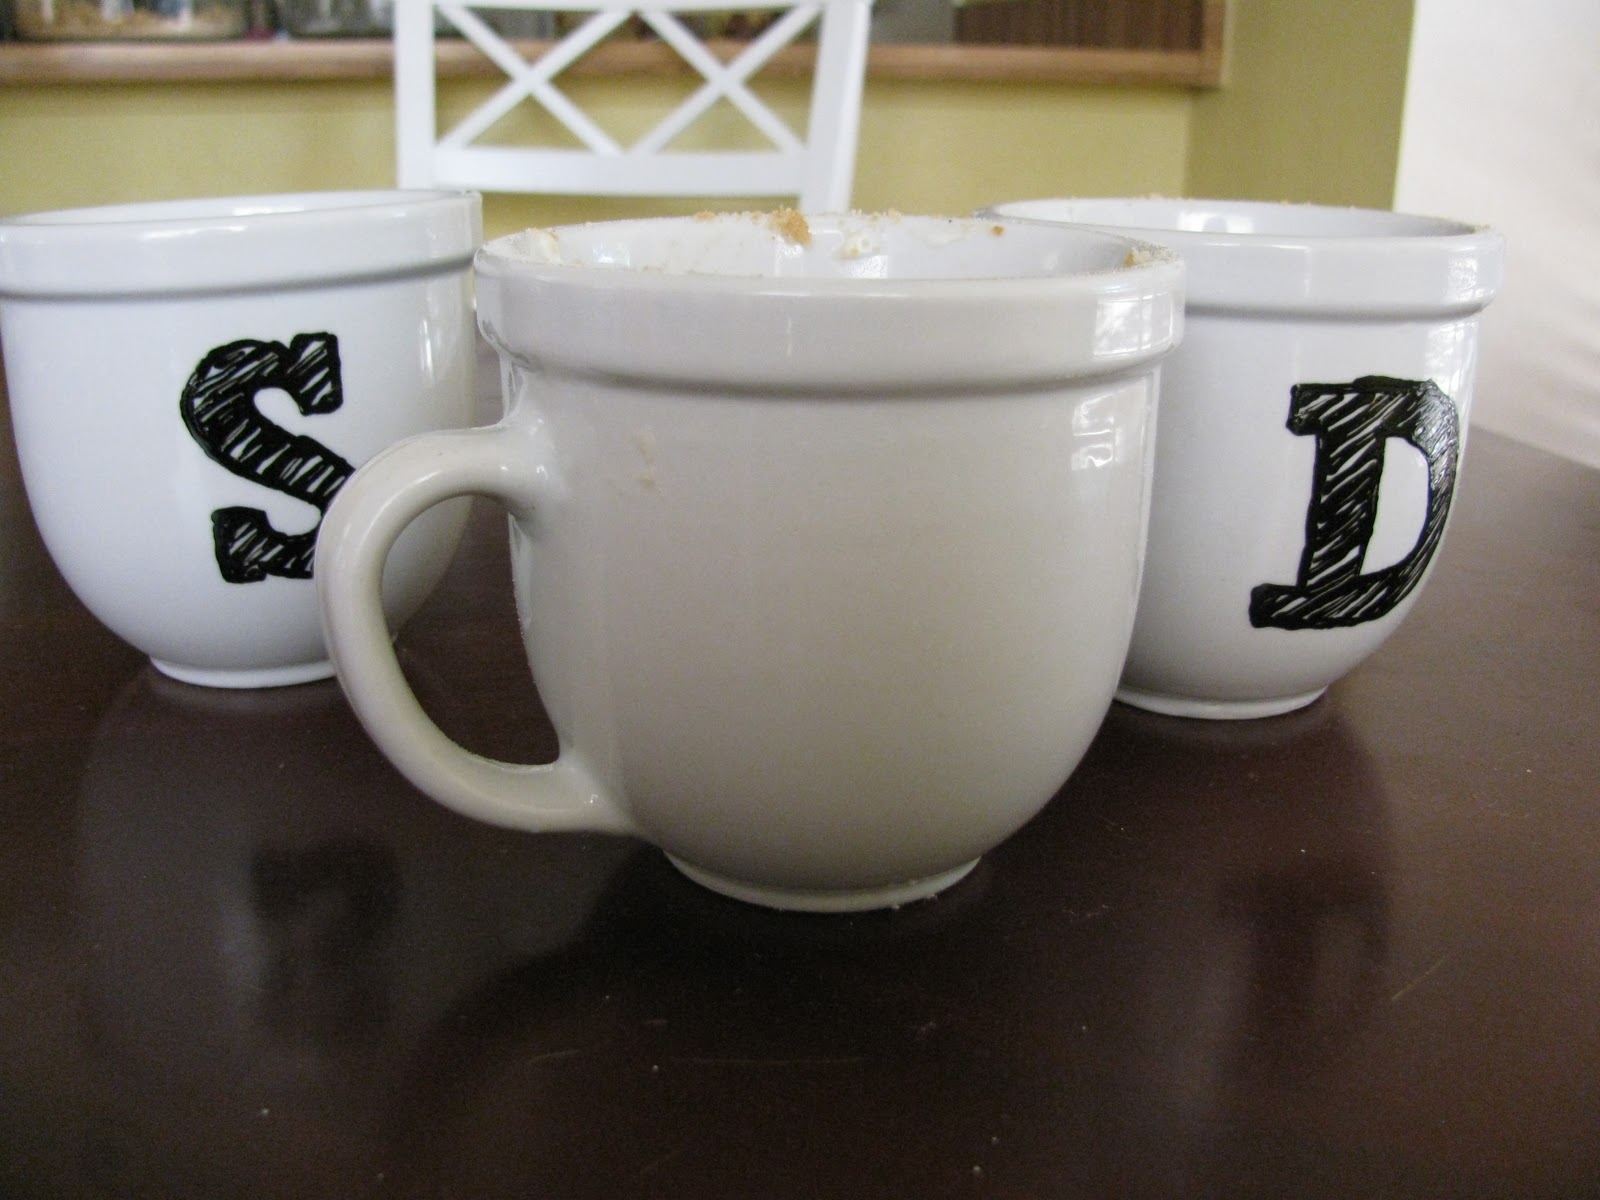
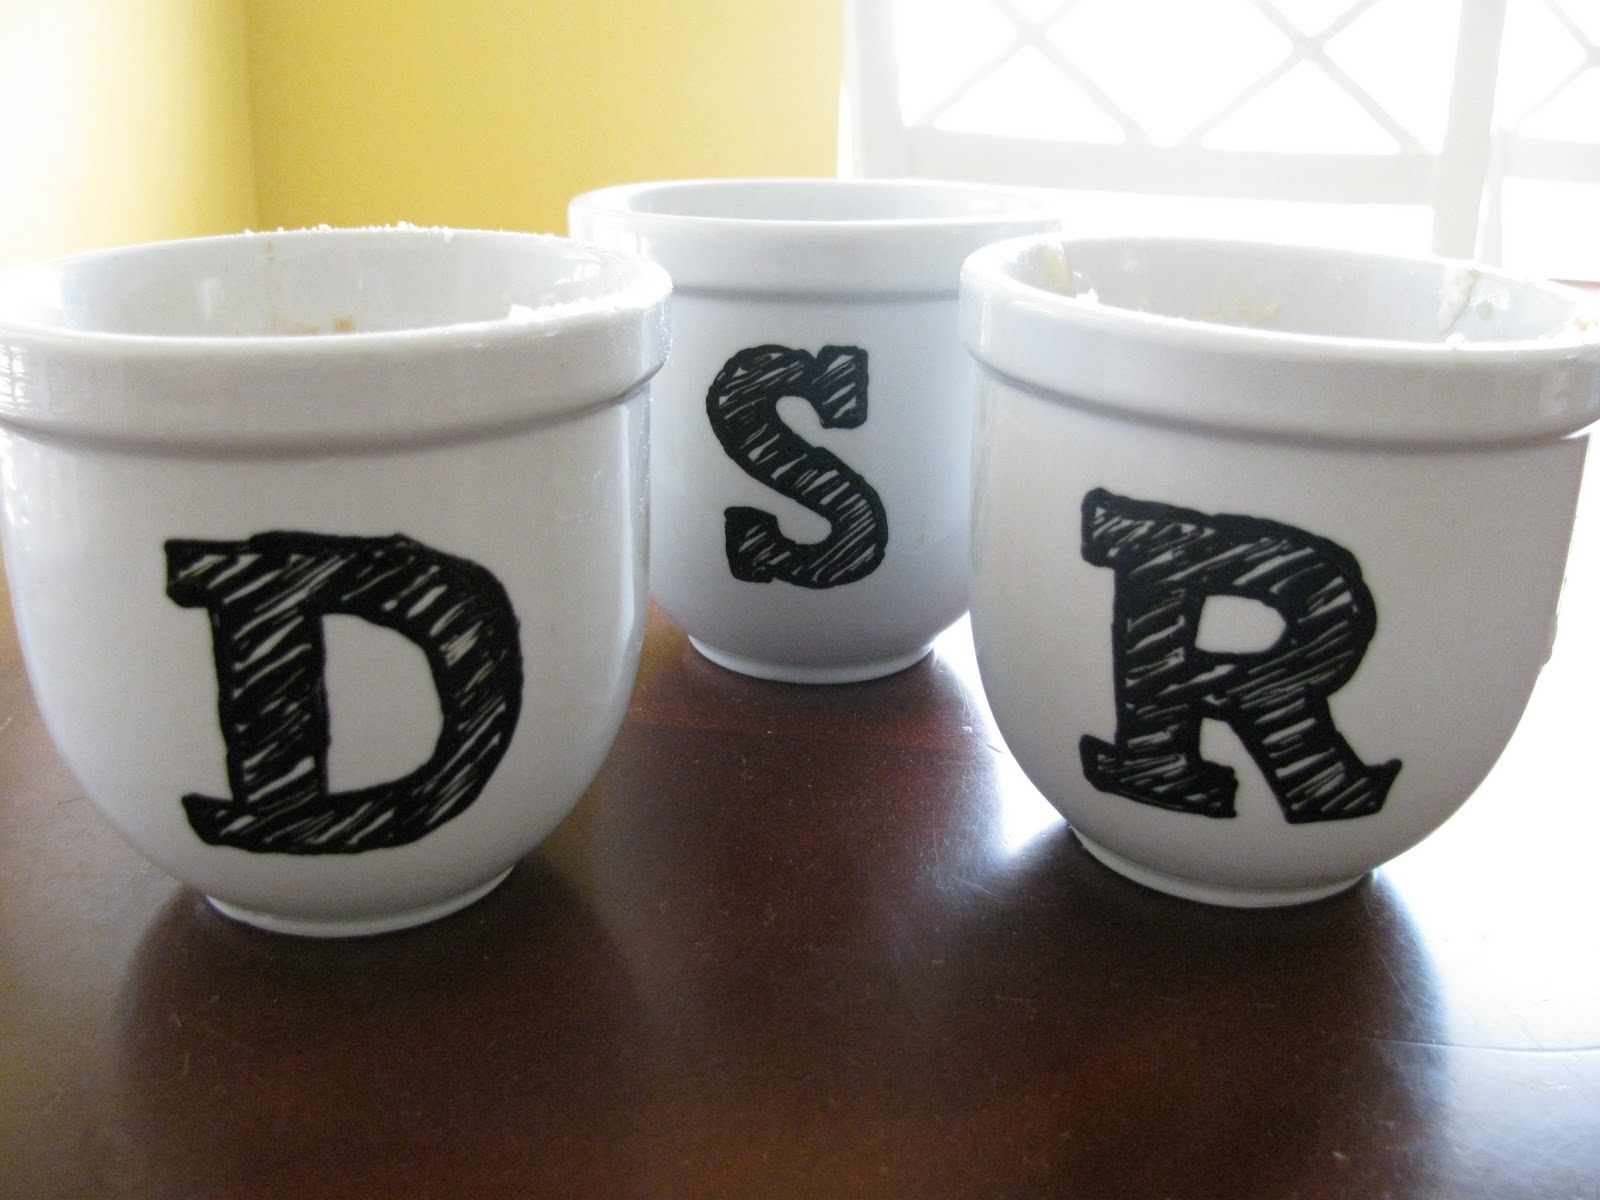
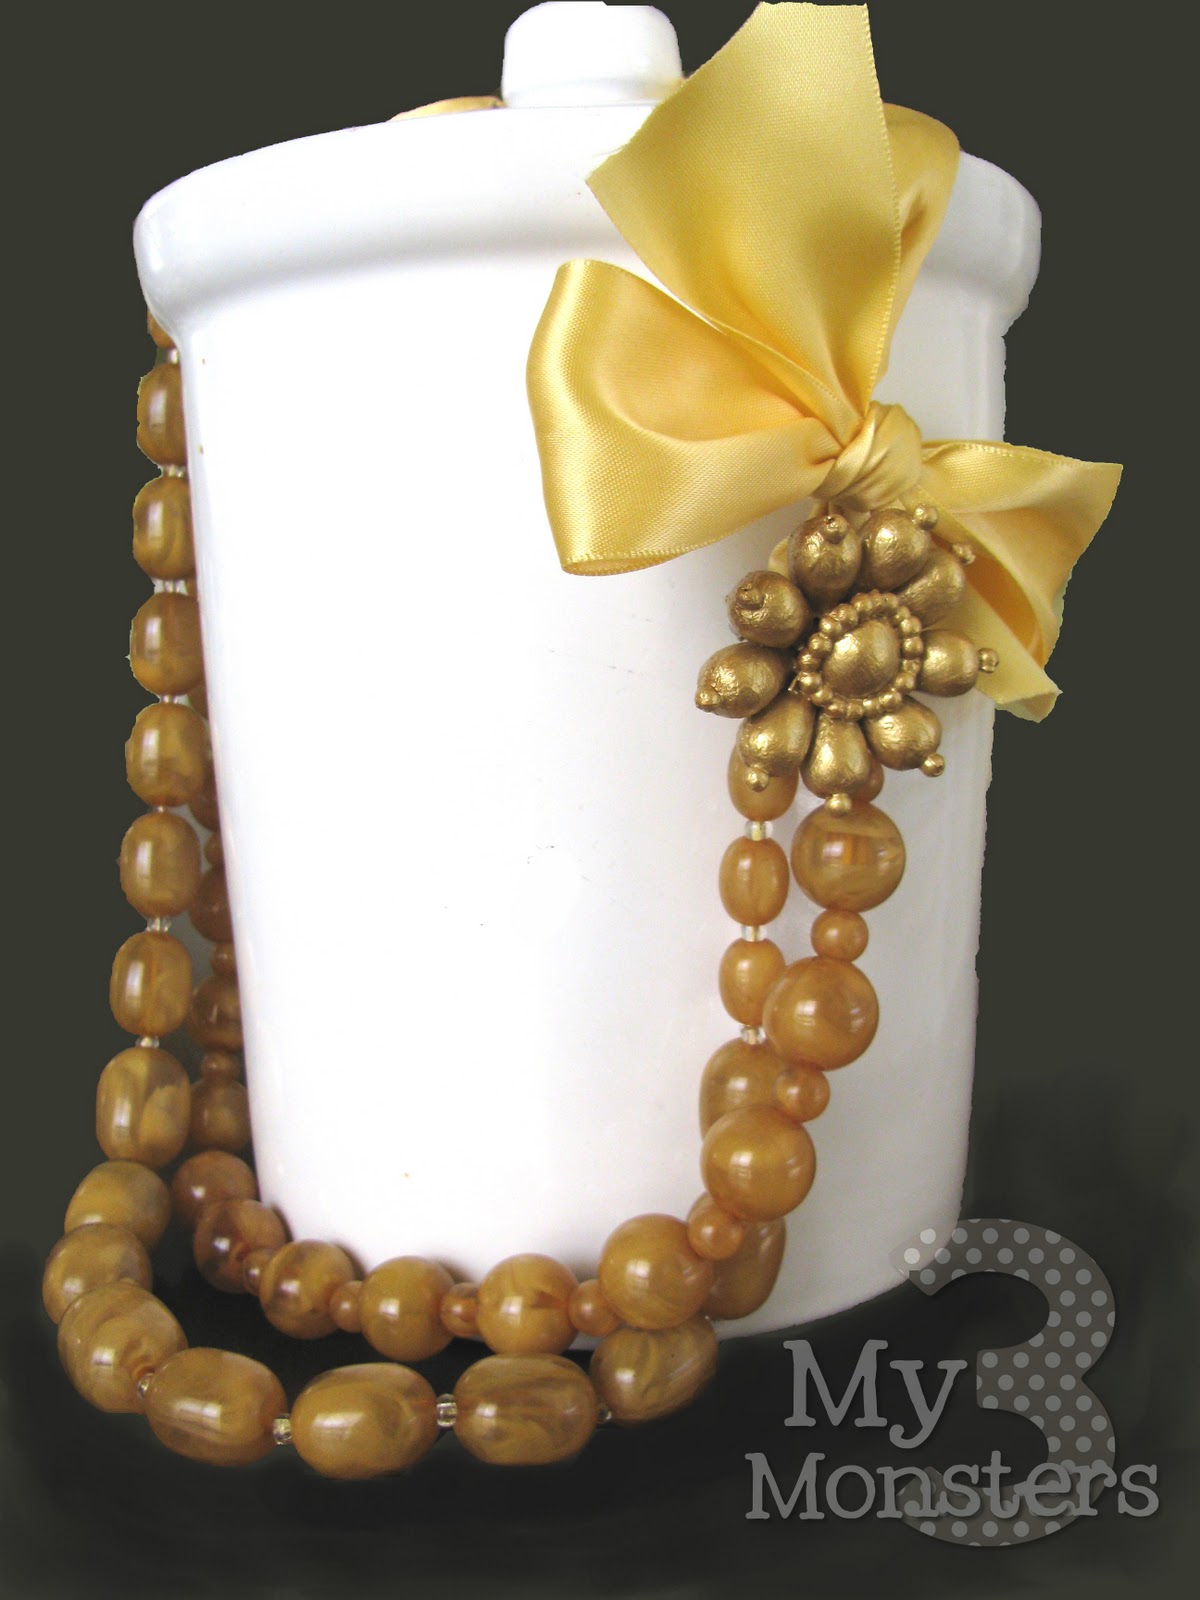
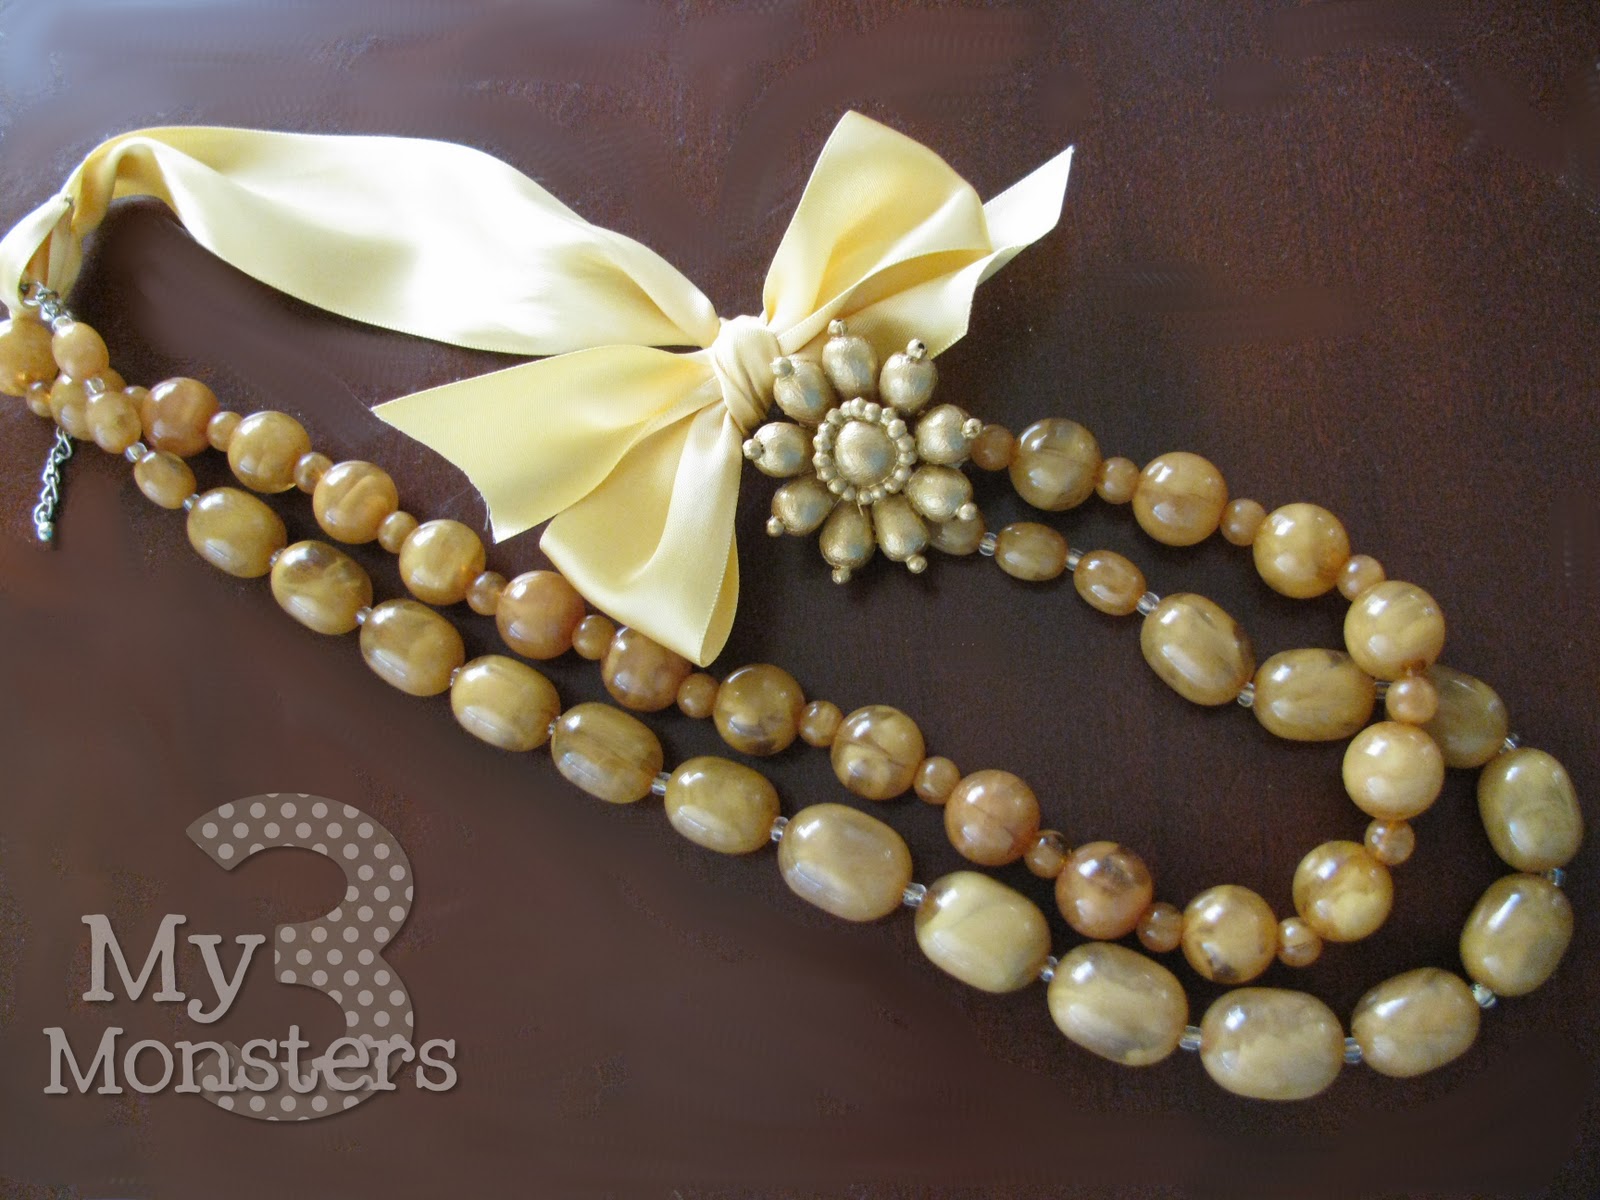
Easy cheesy!  I can't wait to serve my family dinner tonight.  My kids have each picked their favorite:  Sydney is nosh, Dylan is munch,and Riley is chow.  Brent and I usually just want to eat.  Maybe I should have made two of those . . . I think these would be so fun on a Thanksgiving table.  They were cheap and easy enough that you could use them just once a year {or even just once} and still feel good about it.  I, however, will use them nightly.  They're just that fun.  Come back tomorrow for a cool, casual bracelet project.  

For a complete list of all 31 projects click here:


10.24.2011

Day 24: Fancy Schmancy Hand Towels and Dishcloth-a-Day

I've mentioned before how mundane tasks are easier for me to do if I can find some way to add a little cuteness.  It's why I digi-scrap all my recipes and why I made a cutesy chore chart for myself.  It's why I'm thinking about spray painting my washer and dryer and hanging a chandelier in my laundry room/garage -- but don't tell my husband.  He'll try to talk me out of it.  But that is a project for another day . . . today I'm cute-ing up in a much simpler way.  I loved this dishcloth project I pinned a while back. 

I love the idea of knowing that my dishrag is fresh every single day, but in reality it will be a miracle {or at least a major coincidence} if the dishrag in use corresponds with the actual day of the week at any given time.  The cloths are cute nevertheless.  I went to Joann when calico was on sale and bought 1/4 of a yard of six different patterns which was plenty for both of my projects today.  Why only six?  Because the pack of dishcloths at Target only had six.  And Sunday is a day of rest, right?  Whatever.


The only problem is that they are almost too cute to use on dirty dishes.  I just don't want to mess them up.  I keep telling myself they were easy and I can make them again when they get too dingy and yet they are still sitting on the countertop next to the sink.  It's Monday so maybe I'll just take the plunge today and break one in . . . 

While I was sewing I wanted to make some cute dish towels to match and brighten up my kitchen.  These beautiful ruffly towels were my inspiration.  Those fabrics and the ruffles and the twill tape all make me swoon a little bit.  I was too cheap to buy that gorgeous fabric online so I just used plain white terry dishtowels from Target.  Floursack towels would also be very nice.  While you are checking out the particulars for this project at Make life Sweet you should definitely click the link to the Sweetwater Etsy shop.  I want every single thing they sell.  Anyway . . . like I said before, I got six different fabrics at Joann so I made two sets of towels.


I had one of my proudest moments as a mother so far whilst making these towels.  I was trying to decide which colors to put together for each set and how to lay them all out and I just couldn't get it exactly right.  My daughter walked through the room at that moment, looked at my fabrics for a second and moved the pieces around to create the combinations you see here.  It was PERFECT!  'At's MY girl!!  I could have cried.  But seriously . . . didn't she do good?  When I finished sewing the towels I couldn't help but think how perfectly they went with my butterfly art project that is currently hanging in the red guest bathroom:


So they ended up being hand towels in the bathroom instead of dish towels in the kitchen.  I warned my kids, though, that these are for drying CLEAN HANDS ONLY, not for wiping up dirty messes.  We'll see how long that lasts . . . For now my bathroom is looking pretty cute.  Can you believe we only have SEVEN projects left in this little ordeal?  Thanks for hangin' in there with me y'all.  Time flies when you're having fun.  Check back tomorrow for some stenciled burlap placemats that would be perfect for Thanksgiving dinner.  For a complete list of all 31 projects, click here:


10.23.2011

Day 22 & Day 23: Easy Maxi-Dress & Monogram Cocoa Mugs

I'm feeling a day late and a dollar short these days -- just can't keep up. My sister Leslie and her friend Kristen came down from Vegas yesterday to take Sis to the Taylor Swift concert so I spent the day cleaning and then enjoying their company.  But that just means you get a two-for-one today!  Yesterday I was almost prepared to share my super-cute, super-easy maxidress with you.


So cute and super simple.  I've had some fabric laying around for a long time for which I've been waiting and waiting to find the perfect use.  So I used some of my birthday money and bought a cute t-shirt and came up with this:


This was the first time I have used elastic thread so I was a little wary, but I followed the tutorial at A Small Snippet and I really like it.  Also, I didn't know if I would want a sash that tied in a bow in the back -- that seemed like something only a tiny girl like LeAna could pull off -- so I used the bottom part of the shirt that I cut off to make a gathered waistband.


I'm not sure if I'm loving that, but it works for now.  I'll probably keep my eye out for a wide belt in my thrifting to wear with it instead.  I think LeAna mentioned it it in her original post, but pictures of this dress on the hanger do not do it justice.  It's really pretty cute in real life.  Unfortunately I am pretty anti-photo-of-myself so you'll just have to take my word for it.  It WAS super-easy -- a good project for a beginning sew-er.  And cute.  And cheap.

Today's project is something that would be a great neighbor gift for Christmas.  I saw this idea for monogrammed cocoa mugs from Design Mom and it was love at first sight.  First of all, Sketchblock is kind of the "it" font right now and I'm not ashamed to say that I LOVE it, so instantly that caught my attention.  Then, the mismatched white mugs?  You had me at hello.  I bought some porcelain paint a while back for a project that didn't really turn out so I already had that on hand {but it's pretty inexpensive if you don't}and the mugs can be found at Goodwill for less than 50 cents -- especially if you don't need them to match.  The mugs I found were Pottery Barn mugs for 35 cents apiece.  Sweet.  The process is pretty simple, and until you bake it you can wash the paint right off if you make a mistake. Sketchblock font is pretty forgiving, too, as far as this project is concerned because it's really just a bunch of scribbles.  The best part is that my kids were beyond thrilled to have their very own mugs.


The day I was taking pictures of the mugs, I happened to find this recipe for 5 Minute Coffee Cake in a Cup on Prudent Baby so I thought I'd give that a whirl, too.  As promised, it was quick and delicious.  I love single serving treats I can make just for myself after the kids go to school!


Brent was working from home that day -- I DID NOT eat two of them.  Even though I may or may not have wanted to.  It doesn't look like much in that picture, but it was scrumptious.  Now I just need to make myself a cute mug and I'll be all set!

Join me tomorrow for some cute dishrags and hand towels I made for my kitchen and guest bathroom.  I promise I'll be on time now.  For a complete list of projects click here:


10.21.2011

Day 21: Super Easy Necklace Makeover

I'm a huge fan of accessories -- fashion or home.  They make things feel finished.  Whenever I go thrifting I always keep my eye out for simple beaded necklaces that could be turned into something spectacular.  The magpie in me also keeps one eye open for sparkly broaches or clip on earrings that could be added to my new necklace creations.  Just look at some of the stunners I've pinned for inspiration from Elva Field:

Me likey.  I whipped this somewhat similar one up out of some beads and ribbon I had on hand.


 I may or may not keep that gold flower on there.  It's just a clip-on earring so I can remove it easily for a little bit simpler look.  I think it's a vast improvement over the plain old mustard colored beads I started with. Thanks for checking in today! Come back tomorrow for a really cute maxidress you can make in about half an hour.

For a complete list of projects click here:


10.20.2011

Day 20: Glittery Shoes

I like things that sparkle.  I'm a bit like a magpie in that regard, I guess.  Or a five year old girl. I adore diamonds, but I settle for rhinestones, sequins and glitter.  As long as it catches the light, I'm pretty much a fan. Naturally the sparkly shoe trend of late has me covetous.  But just look at these pretties from Kate Spade.

I. Am. In. Love.  I know it's silly, but I just had to have a pair for myself, minus the hefty price tag.  There are a ton of tutorials pinned on Pinterest for making your own glitter shoes, but this is the original pin from Rita at Suburbs Mama that inspired me.

I had a perfect pair of black peep toe pumps that were just looking a little shabby and needing a pick-me-up.  When I went to the store to buy mod-podge and glitter I found this miracle of modern science:

Martha Stewart Crafts Glitter Paint is an acrylic paint that works on nearly any surface without primer.  It is super sparkly and comes in a wide variety of colors and seemed a lot easier to use than a glitter and mod-podge concoction.  I painted on about a thousand coats of the antique silver paint.  In hindsight, I probably should have spray painted the shoes a lighter color than black before I began adding glitter, but it came out OK in the end.


I can't wait to start wearing them!  Sis borrowed them last night because we asked the girls to come to Young Women in Excellence dressed as princesses, but technically they weren't ready to be worn yet.  The paint bottle says to let the paint cure for 21 days, which is three weeks if you don't want to do the math yourself, so you can't make these and expect to wear them later that night.  My hope is that when the paint cures they will be nearly indestructible.  The bottle does say indoor/ outdoor, multi-surface, no need for primer.  We'll see.  Come back tomorrow for the super easy necklace makeover -- I've made a  few adjustments to the schedule to get back on track.  Have a great day!

For a complete list of "31 days" projects, click here:


10.19.2011

Day 19: Apologies

My head is officially hung in shame.  I spent the entire day working on Young Women in Excellence and didn't get to the post about the sparkly shoes.  I hate it when real life gets in the way of my blogging.  :-P

I do have a fun video presentation that I created {my very first!} to share today.  It wasn't inspired by Pinterest, but it is inspiring to me . . .


I'll be back tomorrow with both the sparkly shoes and a super easy necklace makeover!


10.18.2011

Day 18: Happy Birthday to Me

Sooooo, today I'm hurriedly getting ready for our annual Young Women in Excellence program at church.  We have based the program around President Uchtdorf's talk to the Young Women titled "Your Happily Ever After".  I highly recommend it if you aren't already familiar with it.  My counselor took a few popular princess stories and tied them into the eight young women values and I took on the task of somehow making a visual representation of that.  I didn't want to just use pictures of the Disney characters because that seemed too juvenile.   My project for today is to draw and cut out silhouettes of the characters on colored poster board that coordinates with the value they represent.  Then I need to write how they exemplify that value -- maybe on some scroll-y looking paper.  I haven't figured that part out yet.  I'll post some pictures after tomorrow night IF they turn out well enough.

If you want to see a complete list of all my "31 days" projects, click here:


10.17.2011

Day 17: 50's Inspired Dress

What's fun about Pinterest is that you can pin anything you want.  Seriously, ANYTHING.  In addition to crafts I want to make, I pin pretty things for my house,  funny sayings, and jewelry.  Expensive jewelry.  I also have an entire imaginary wardrobe on Pinterest that is fun to look at.  It's cool to see everything you like in one place.  It gives you a pretty clear picture of your style. {Or someone else's -- I feel like I know some people, who I don't really know, pretty well just by following them on Pinterest.}  For instance, my Fashion Faves board is full of dresses with a 50's flair.  I certainly don't dress that way in real life, but now I wish that I did.

Why don't I buy stuff like that for myself?  I decided to use some fabric that I bought on clearance years ago and make myself a dress I figured I had nothing to lose as I had everything I needed on hand. I used Butterick pattern # B4443 which is a "Sew Easy" pattern {my favorite kind because I get bored with sewing pretty quickly} and it took me most of Saturday afternoon and evening, in between cooking dinner and running errands. Ooh!  Dinner was "pin"-spired, too -- Chicago Style Deep Dish Pizza from Pennies on a Platter.

It's the best homemade pizza of your life, I promise.  But back to the dress -- It turned out . . . fine.  The bodice is a little too loose and I don't really want to fix it.  Also, I have a little complex about homemade clothes.  {I'm always afraid it'll be obvious that I made it myself because I look so frumpy.}  I don't know what it is.


 I don't love it, but I don't hate it either so that's something.  I wore it to church yesterday with a turquoise sweater and it was cute-ish.


My Young Women liked it, but I think mostly because the fabric is really cool.  It's kind of copper and turquoise iridescent, which is really beautiful in real life.  Brent said he liked it, too, but he has to say that -- it's why he makes the big bucks around here.  Anyway . . . tomorrow is my birthday so I've left the day wide open to do whatever I want -- After taking my kids to the dentist, attending a meeting for some volunteer work Sis and I are doing, and getting ready for Young Women in Excellence Wednesday night.  It will be a surprise for you and me both because I still haven't picked a project yet, but I promise it will be pretty low key.  Have a great day!

For a complete list of my projects, click here:


Related Posts Plugin for WordPress, Blogger...